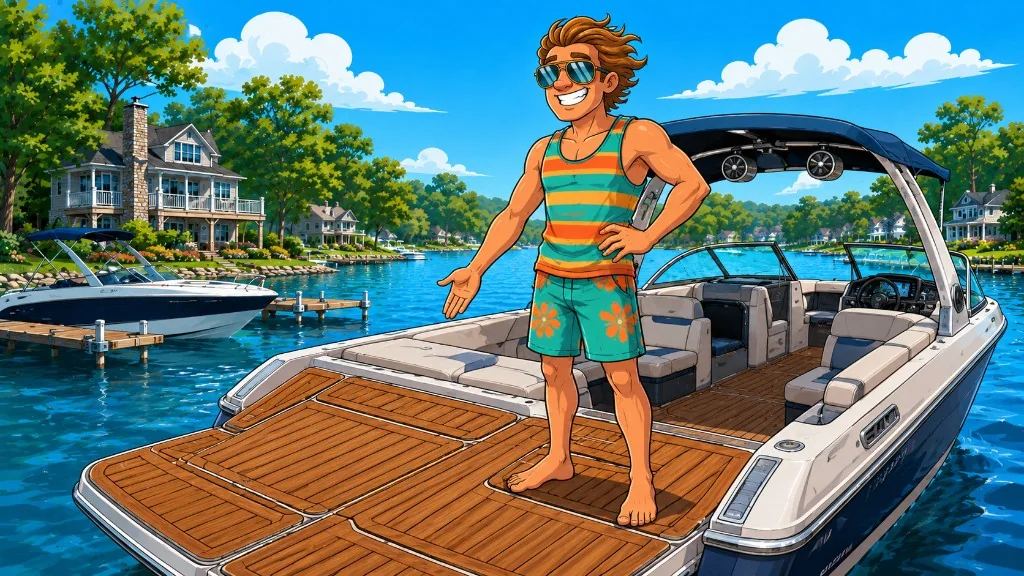
Identify the boat and every intended flooring area.
Photograph the overall layout and close details.
Record rough maximum length and width only as preliminary information.
Do not cut or order material from unapproved rough measurements.
What to photograph
Useful photos show the complete project area plus every edge, curve, hatch, drain, step, transition, seat base, hardware item, and access point.
Wide photo from multiple angles
Straight-down view where possible
Close views of damaged or existing flooring
Hatches, drains, ladders, cleats, hinges, and hardware
Transitions to adjacent materials
Boat identification and overall exterior
What to measure
Provide rough overall length and width for each area, plus a reference dimension visible in photos if requested.
Curves, tapers, panel breaks, hatches, and hardware make area calculations more complex than multiplying one rectangle. Final methods must be approved by the project provider.
Information beyond measurements
Boat make, model, year, location, current material, substrate knowledge, desired design, timing, and access can change the project path.
Share your boat make, model, year, current flooring, project area, location, and clear photos.
Discuss material, color, caulking, layout, budget range, timing, and whether the project is partial or full-boat.
Confirm measurement or templating requirements, scope, inclusions, logistics, and the written estimate before work begins.
Review the finished plan and follow the approved fabrication, preparation, and installation path for the project.
Send Wave Maker Craft your boat make, model, year, current flooring, location and a few clear photos. We’ll use that information to help narrow the flooring category, project scope and design direction worth considering. You do not need final measurements or a finished design to begin.